
How to Program Your Garage Door Remote (Any Brand)
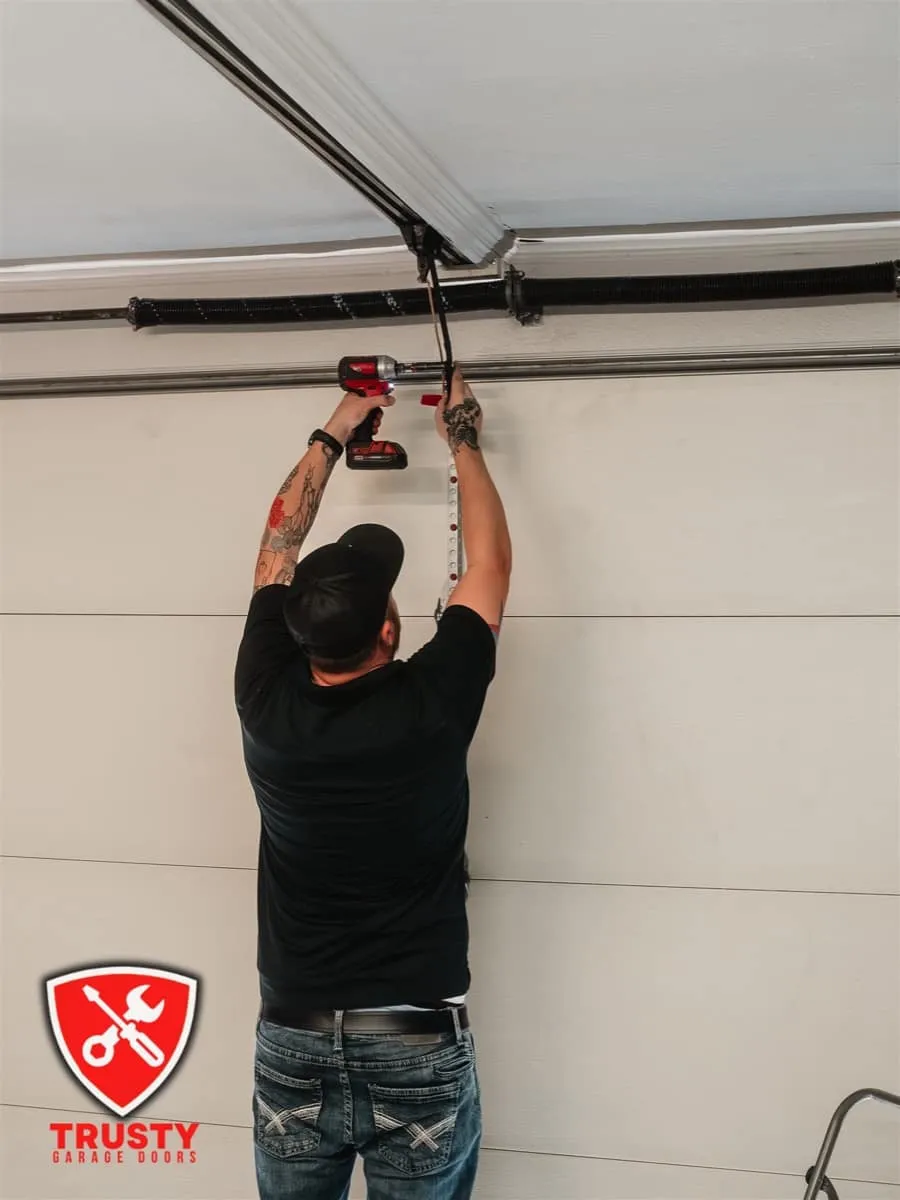
Getting into a new house, adding a spare remote for a family member, or recovering after an opener reset — the programming process is almost always the same. But the Learn button location and color change by brand in ways that trip people up every time. This is the rundown I give customers over the phone before I drive out.
What the Learn Button Actually Does
Everything starts with the Learn button on your motor unit — the box mounted to the ceiling in the center of the garage. When you press it, you open a 30-second pairing window. The opener says “I’m listening,” and whatever remote signal comes through in that window gets stored in its memory.
Modern openers use rolling codes (Security+ on LiftMaster/Chamberlain, Intellicode on Genie), which means the code changes every single time you press the button. This is why your neighbor’s remote doesn’t open your door. When you program, you’re not setting a static number — you’re registering the remote’s identity so the opener recognizes it each time.
Older units from before 2000 or so use fixed dip switches instead. I’ll cover those at the end.
Step 1: Find the Learn Button and Note Its Color
Look on the back or side panel of the motor unit, sometimes tucked just behind the light lens. The color tells you the protocol:
- Yellow or gold — LiftMaster/Chamberlain Security+ 1.0 (older, 315 MHz)
- Purple or magenta — LiftMaster/Chamberlain Security+ 2.0 (390 MHz, most homes built after 2010)
- Orange — Genie Intellicode (some Chamberlain models too)
- Green — Older Chamberlain or Linear systems
If you’ve got a new remote and aren’t sure which protocol to buy, pull the model number off the sticker on the motor housing. That number tells you exactly which frequency and remotes are compatible.
Programming LiftMaster, Chamberlain, and Craftsman
These three use the same process — Craftsman has been a Chamberlain product for years.
- Press and release the Learn button — a short tap, not a hold. The indicator light will glow solid for about 30 seconds.
- Within that window, press and hold the button on your remote until the opener light blinks twice or you hear two clicks from the motor.
- Release the remote button and test from the driveway.
That’s the whole thing. Should take under a minute.
One warning worth saying out loud: holding the Learn button for six or more seconds is a factory reset. It wipes every remote, keypad, and car button from the opener’s memory — all at once, no undo. Short press only. I’ve seen this mistake end with someone standing in their driveway reprogramming everything from scratch on a Wednesday morning.
Programming Genie (Intellicode)
Genie does the same job with slightly different steps.
- Press the Learn button twice in quick succession — two presses, not one.
- Within 30 seconds, press and hold the button on your Genie remote until the opener confirms with a beep or light flash.
- Release and test.
Some Genie remotes also have a small program button on the remote itself. If yours does, hold that button until the LED flashes, then hold the door button until the opener responds. The instruction card that came with the remote will show you which.
Programming Your Car’s HomeLink Button
HomeLink is built into the visor or rearview mirror of most vehicles made after 2000. This is where people most often get stuck, because it’s a two-part process and the second part is easy to skip.
Part one — train the car:
- Hold a working handheld remote right up against the HomeLink button in your car, within an inch or two.
- Press and hold both the HomeLink button and the handheld remote simultaneously until the HomeLink light changes from a slow blink to a rapid blink or solid. This takes 10–30 seconds.
- Release both.
Part two — sync with the opener (essential for Security+ 2.0):
- Go to the motor unit and press and release the Learn button.
- Within 30 seconds, go back to the car and press the HomeLink button three times.
- The opener light should flash twice to confirm.
If your opener has a purple Learn button and you skip that second part, the car button will appear to work — lights blink, feels right — but the door won’t move. The manufacturer calls this “handshaking.” It matters.
Car2U systems (found in some older GM vehicles) have a slightly different sequence. Your owner’s manual is the most reliable reference for those.
Older Openers With Dip Switches
Pop open the remote’s battery cover and look for a row of 8 to 12 tiny switches in a plastic block. These are set to a specific on/off pattern. Find the matching set of switches inside the antenna cover on the opener itself. Every position needs to match.
These fixed-code systems are less secure than modern rolling-code openers — the code never changes, and technically it can be copied. Not a reason to lose sleep, but worth knowing if you’re already thinking about an upgrade.
When It Still Won’t Program
A few things to check if the opener refuses to accept the remote:
Memory full. Some older openers cap out at 8 or 10 stored devices. If you’ve been cycling through remotes over the years, there may be no room for a new one. The fix is to delete old devices first — hold the Learn button until the LED turns off (the factory reset), then reprogram every device from scratch.
Wrong protocol. A 315 MHz remote won’t work on a 390 MHz receiver. The Learn button color is your fastest hint at which frequency you need.
Failing receiver board. If a confirmed working remote won’t take — following all the steps correctly — the receiver inside the opener may be failing. Board replacement is an internal repair, not a remote fix.
For a realistic estimate on what an opener service call runs in DFW, the repair price calculator gives you honest numbers with no surprises. Our garage door opener repair page covers what we check on a standard visit. And if you’re already wondering whether the opener itself is worth fixing or it’s time for a new one, the garage door repair page has more on that call.
If you’ve worked through all of this and still can’t get the remote to cooperate, call us at (214) 624-6348. We’re in Plano and serve all of Dallas–Fort Worth, and we’re glad to talk through what you’re seeing before anyone drives out.
Nick founded Trusty Garage Door Repair in Plano and has spent 10+ years fixing garage doors across Dallas–Fort Worth. He still takes calls, still runs jobs, and writes these guides the way he explains things in a customer's driveway — straight, no upsell. Read Nick's story →
One tap tells Google you trust our guides, so they show up more in your own search results and AI answers.